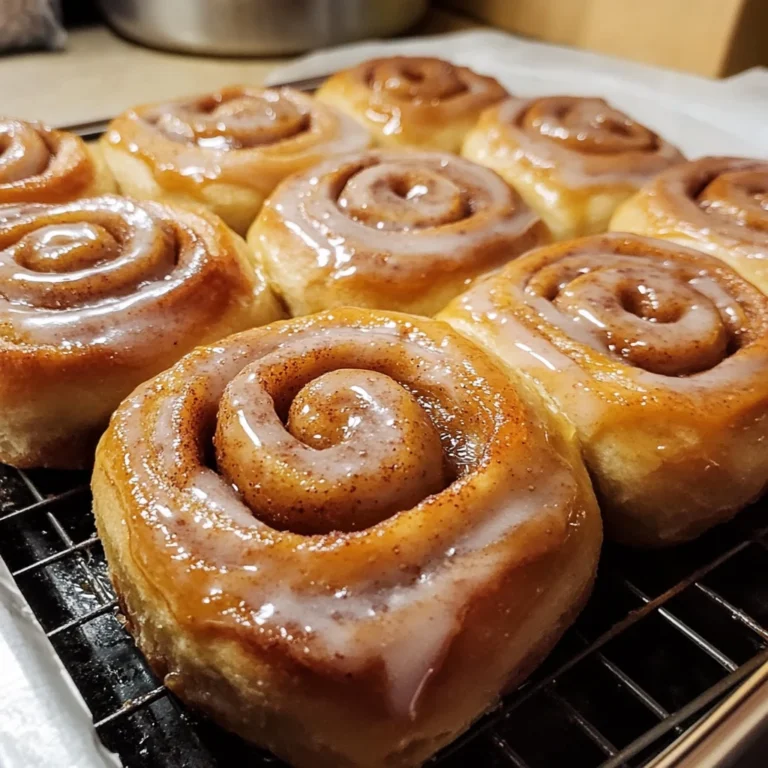
Homemade honey buns are a true comfort food classic – warm, soft, and dripping with a delectable honey glaze. These beloved pastries evoke nostalgic memories of childhood and weekend brunches. What could be better than sinking your teeth into a freshly-fried, golden-brown bun, the sweet honey melting on your tongue? With this easy-to-follow recipe, you can enjoy the irresistible taste of homemade Homemade Honey Buns anytime you desire.
Table of Contents
Ingredients for Homemade Honey Buns
To make these heavenly Homemade Honey Buns, you’ll need a simple list of pantry staples:
- 3 cups all-purpose flour (plus more for rolling)
- 3 tablespoons granulated sugar
- 1 tablespoon instant yeast
- 1/2 teaspoon salt
- 1/2 cup warm water (between 105°F-115°F)
- 1/3 cup honey
- 1 large egg
- 1 teaspoon vanilla extract
- 1/4 cup shortening (melted)
- Vegetable or peanut oil (for frying)
- 1/4 cup granulated sugar
- 1 1/2 teaspoon cinnamon
- 4 2/3 cup powdered sugar
- 2 1/2 tablespoons honey
- 1 tablespoon melted butter
- 1/2 teaspoon vanilla extract
- 1/4 teaspoon salt
- Warm water (as needed)
Preparing the Dough for Homemade Honey Buns
The first step in creating these Homemade Honey Buns is to prepare the dough. In a bowl, combine the warm water, honey, and yeast. Let this mixture sit for 5-10 minutes until it becomes nice and foamy. Once activated, mix in the egg, vanilla, melted shortening, sugar, salt, and flour to form a soft, pliable dough.
Kneading and Rising the Dough
Next, knead the dough for 5-7 minutes until it becomes smooth and elastic. Cover the dough and let it rise in a warm place for 1-2 hours, or until it has doubled in size. This rising step is crucial for developing the perfect light and airy texture in your Homemade Honey Buns.
Rolling and Shaping the Buns
Once the dough has risen, turn it out onto a lightly floured surface and roll it into a rectangle. Sprinkle the dough with the cinnamon-sugar mixture, then tightly roll it up from one of the long sides. Slice the rolled dough into individual buns and arrange them on a baking sheet or in a greased baking dish.
Frying the Homemade Honey Buns
In a deep skillet or fryer, heat the vegetable or peanut oil to 350°F (175°C). Gently lower the shaped buns into the hot oil and fry them for 2-3 minutes per side, or until they’re golden brown in color. Drain the fried buns on paper towels to remove any excess oil.
The Honey Glaze
While the Homemade Honey Buns are cooling, prepare the irresistible honey glaze. In a bowl, whisk together the powdered sugar, honey, melted butter, vanilla, and salt. Add a bit of warm water as needed to reach your desired consistency for the glaze.
Glazing and Serving the Homemade Honey Buns
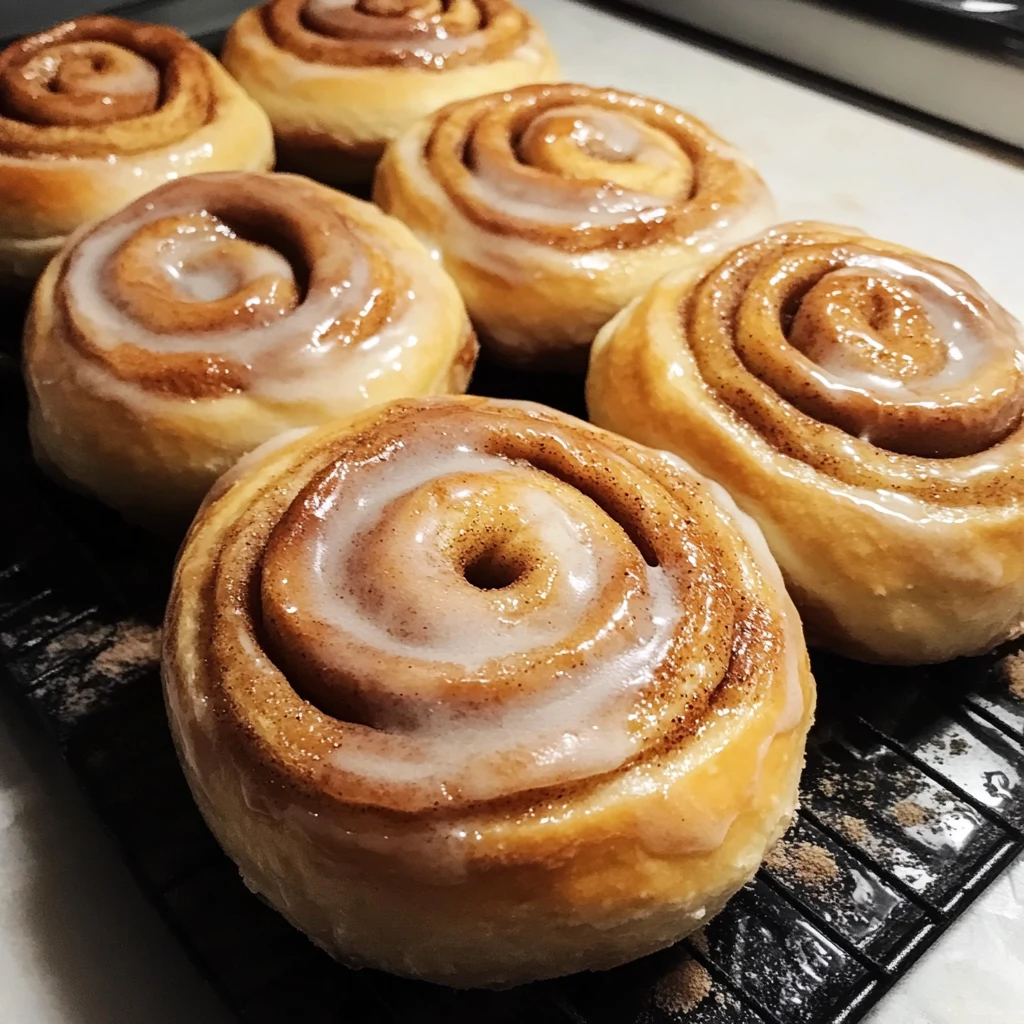
Once the buns have cooled slightly, drizzle or dip them in the honey glaze, ensuring each one is coated in the sweet, sticky goodness. Allow the glaze to set for a few minutes before serving these warm, freshly-fried Homemade Honey Buns.
Enjoy these Homemade Honey Buns as a decadent breakfast treat, an afternoon snack, or even a delightful dessert. The combination of the soft, fluffy dough, the honey-cinnamon filling, and the irresistible glaze make these pastries an absolute must-try. Savor every bite and experience the sweet, comforting flavors that will have you craving more.
More Related Recipes You Might Enjoy
FAQ
How can I tell if my honey buns are cooked through without cutting one open?
To check if your Homemade Honey Buns are cooked through without cutting one open, look for visual cues. The buns should be golden brown on the outside and firm to the touch. You can also use a toothpick or a skewer; insert it into the center of one of the buns—if it comes out clean or with just a few crumbs attached, the buns are done. Additionally, a gentle tap on the bottom of the bun should produce a hollow sound, indicating that they are cooked through.
What are some common mistakes to avoid when making homemade honey buns?
Some common mistakes to avoid include not letting the yeast activate properly by using water that is too hot or too cold, which can kill the yeast or prevent it from activating. Another mistake is not kneading the dough enough, which can lead to dense buns instead of light and fluffy ones. Additionally, overcrowding the frying pan can cause the temperature of the oil to drop, resulting in greasy buns. Make sure to fry in small batches to maintain the oil temperature. Lastly, be cautious with the glaze; too much can overwhelm the flavor, so start with a light drizzle and adjust to your taste.
Can I substitute honey with another sweetener in the honey buns recipe?
Yes, you can substitute honey with other sweeteners, but keep in mind that this may alter the flavor and texture slightly. Maple syrup is a great alternative that will provide a different but delicious taste. If using granulated sugar, you can use about 3/4 cup for every 1/3 cup of honey, but you may need to adjust the liquid content slightly since honey is liquid. Always remember that each sweetener has its unique flavor profile, which may change the final taste of your Homemade Honey Buns.
How long can I keep homemade honey buns fresh, and what’s the best way to store them?
Homemade Homemade Honey Buns can stay fresh for about 2 to 3 days when stored properly. To keep them fresh, place them in an airtight container at room temperature. If you want to extend their shelf life, you can refrigerate them, but this might alter their texture, making them a bit denser. For long-term storage, freezing is a great option; wrap the buns tightly in plastic wrap and place them in a freezer-safe bag or container. They can last for up to 2 months in the freezer. When you’re ready to enjoy them, simply thaw at room temperature or warm them in the oven for a few minutes to restore their softness.
Craving even more magical meals? Browse Amelia’s Pinterest boards for quick dinners, cozy bakes, and tons of flavorful inspiration.
Print
Indulge in Homemade Honey Buns: A Sweet Delight to Make Today!
- Total Time: 2 hours
- Yield: 12 buns 1x
- Diet: Vegetarian
Description
Homemade honey buns are a true comfort food classic – warm, soft, and dripping with a delectable honey glaze. These beloved pastries evoke nostalgic memories of childhood and weekend brunches. What could be better than sinking your teeth into a freshly-fried, golden-brown bun, the sweet honey melting on your tongue? With this easy-to-follow recipe, you can enjoy the irresistible taste of homemade Homemade Honey Buns anytime you desire.
Ingredients
- 3 cup all-purpose flour
- 3 tablespoon granulated sugar
- 1 tablespoon instant yeast
- 1/2 teaspoon salt
- 1/2 cup warm water
- 1/3 cup honey
- 1 large egg
- 1 teaspoon vanilla extract
- 1/4 cup shortening (melted)
- Vegetable or peanut oil (for frying)
- 1/4 cup granulated sugar
- 1 1/2 teaspoon cinnamon
- 4 2/3 cup powdered sugar
- 2 1/2 tablespoon honey
- 1 tablespoon melted butter
- 1/2 teaspoon vanilla extract
- 1/4 teaspoon salt
- Warm water (as needed)
Instructions
1. In a bowl, combine the warm water, honey, and yeast. Let this mixture sit for 5-10 minutes until it becomes nice and foamy. Once activated, mix in the egg, vanilla, melted shortening, sugar, salt, and flour to form a soft, pliable dough.
2. Next, knead the dough for 5-7 minutes until it becomes smooth and elastic. Cover the dough and let it rise in a warm place for 1-2 hours, or until it has doubled in size. This rising step is crucial for developing the perfect light and airy texture in your Homemade Honey Buns.
3. Once the dough has risen, turn it out onto a lightly floured surface and roll it into a rectangle. Sprinkle the dough with the cinnamon-sugar mixture, then tightly roll it up from one of the long sides. Slice the rolled dough into individual buns and arrange them on a baking sheet or in a greased baking dish.
4. In a deep skillet or fryer, heat the vegetable or peanut oil to 350°F. Gently lower the shaped buns into the hot oil and fry them for 2-3 minutes per side, or until they’re golden brown in color. Drain the fried buns on paper towels to remove any excess oil.
5. While the Homemade Honey Buns are cooling, prepare the irresistible honey glaze. In a bowl, whisk together the powdered sugar, honey, melted butter, vanilla, and salt. Add a bit of warm water as needed to reach your desired consistency for the glaze.
6. Once the buns have cooled slightly, drizzle or dip them in the honey glaze, ensuring each one is coated in the sweet, sticky goodness. Allow the glaze to set for a few minutes before serving these warm, freshly-fried Homemade Honey Buns.
Notes
Enjoy these Homemade Honey Buns as a decadent breakfast treat, an afternoon snack, or even a delightful dessert. The combination of the soft, fluffy dough, the honey-cinnamon filling, and the irresistible glaze make these pastries an absolute must-try. Savor every bite and experience the sweet, comforting flavors that will have you craving more.
- Prep Time: 30 minutes
- Cook Time: 15 minutes
- Category: Dessert
- Method: Frying
- Cuisine: American
Nutrition
- Serving Size: 1 bun
- Calories: 250
- Sugar: 15g
- Sodium: 150mg
- Fat: 10g
- Saturated Fat: 3g
- Unsaturated Fat: 5g
- Trans Fat: 0g
- Carbohydrates: 35g
- Fiber: 1g
- Protein: 3g
- Cholesterol: 30mg